
My previous FatScreen Mod used an LCD and the viewing angle isn’t great. It was okay up to a point and then, at extreme angles the illusion would be sick down its top. Now my project budget has been expanded, I’m going to commit to doing it properly.
Lockdown taught me not to rush a project and the only deadlines I have are set by me. Corner cutting might save an hour or two here and there but with this project, mistakes will cost days and bodges would bother me forever. I’m going to go at this like a Discworld Golem, steady, constant, and more important, carefully!
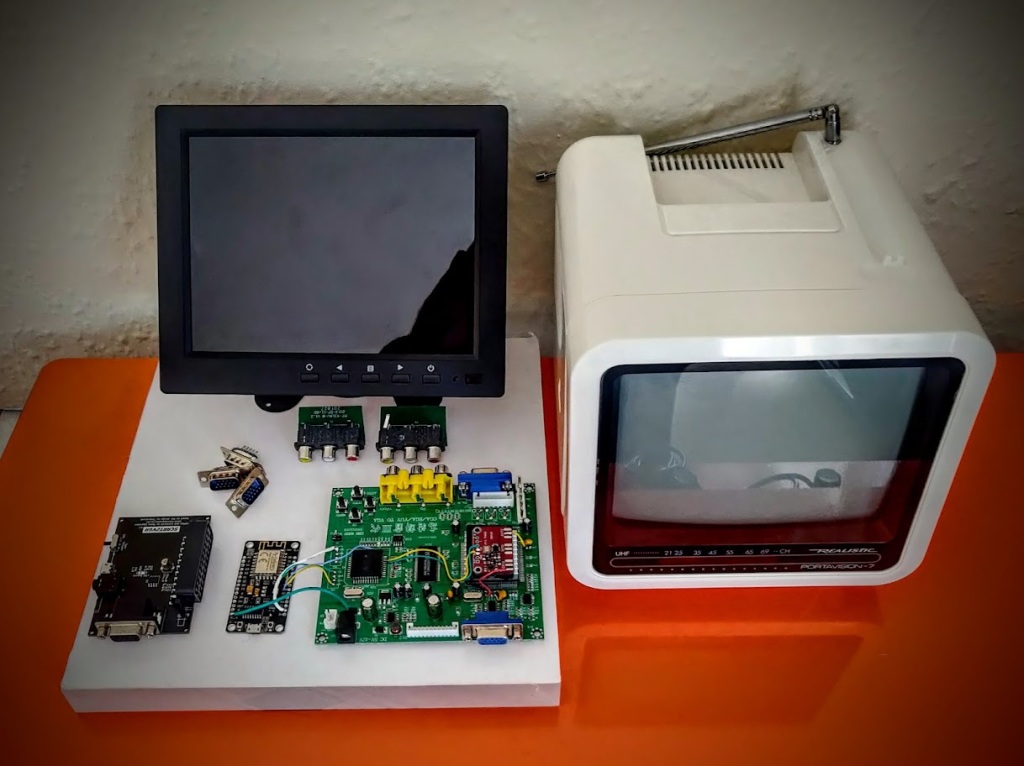
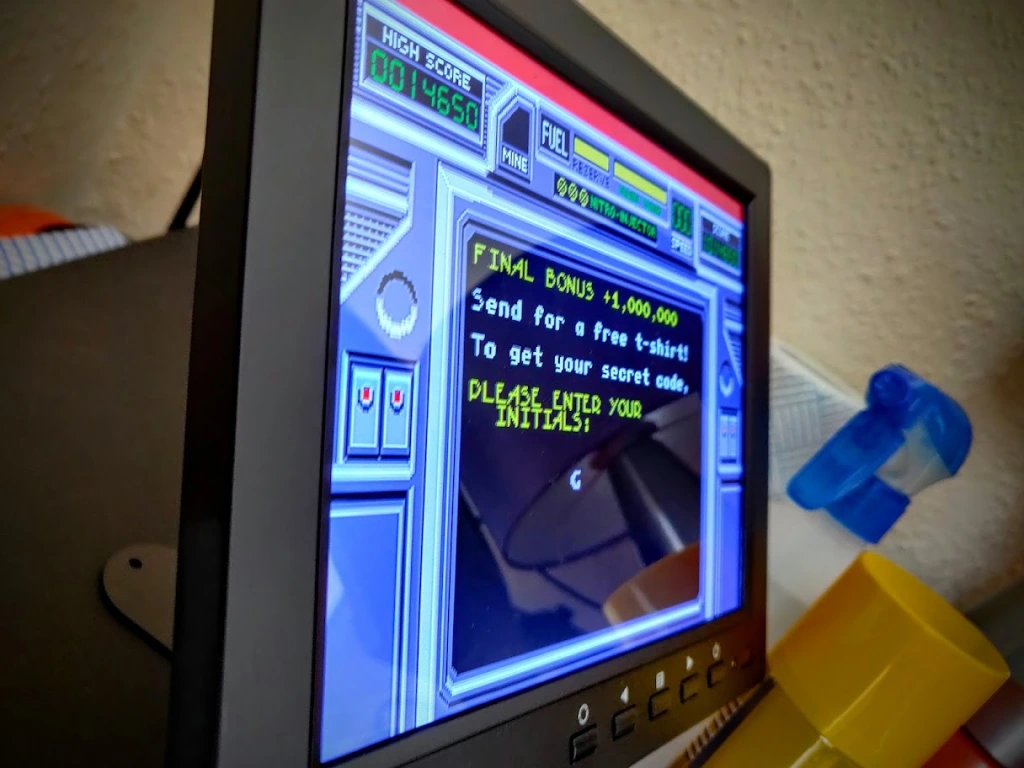
I’m using an 8 inch IPS 4:3 display, it’s the ideal size, the colours are really vivid and the viewing angle is amazing!
It’s all well and good having a shiny display but it needs to look a little less modern, it’s a retro monitor after all. I need to find something to put it in.
Normally, I’m completely against drilling and generally hacking up retro stuff but in my defence, I’ve lost count of the machines I have repaired and refurbed. I’ve invented a few non destructive mods and, if I get it right, this will be a proof of concept to see if machines with built in CRTs that have died can at least retain their old aesthetic with newer components.
I’m going to allow myself this one, and as penance for chopping up a shell I’ll make sure I do my level best to do it justice.
I kept an eye on eBay for something suitable but couldn’t find an 8″ CRT anywhere so settled on a 5.5 inch that could be chopped about to fit. I waited a week, still not posted. It wasn’t going to arrive any time soon. Hmmm. Back to eBay…
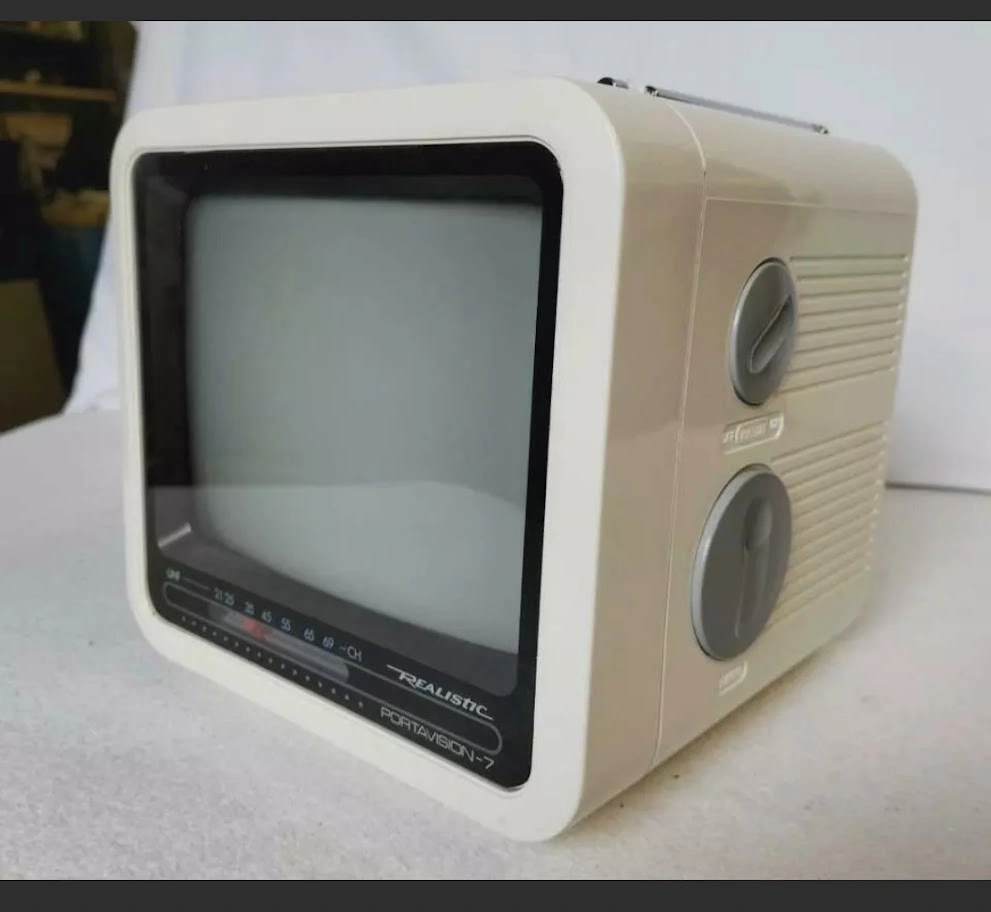
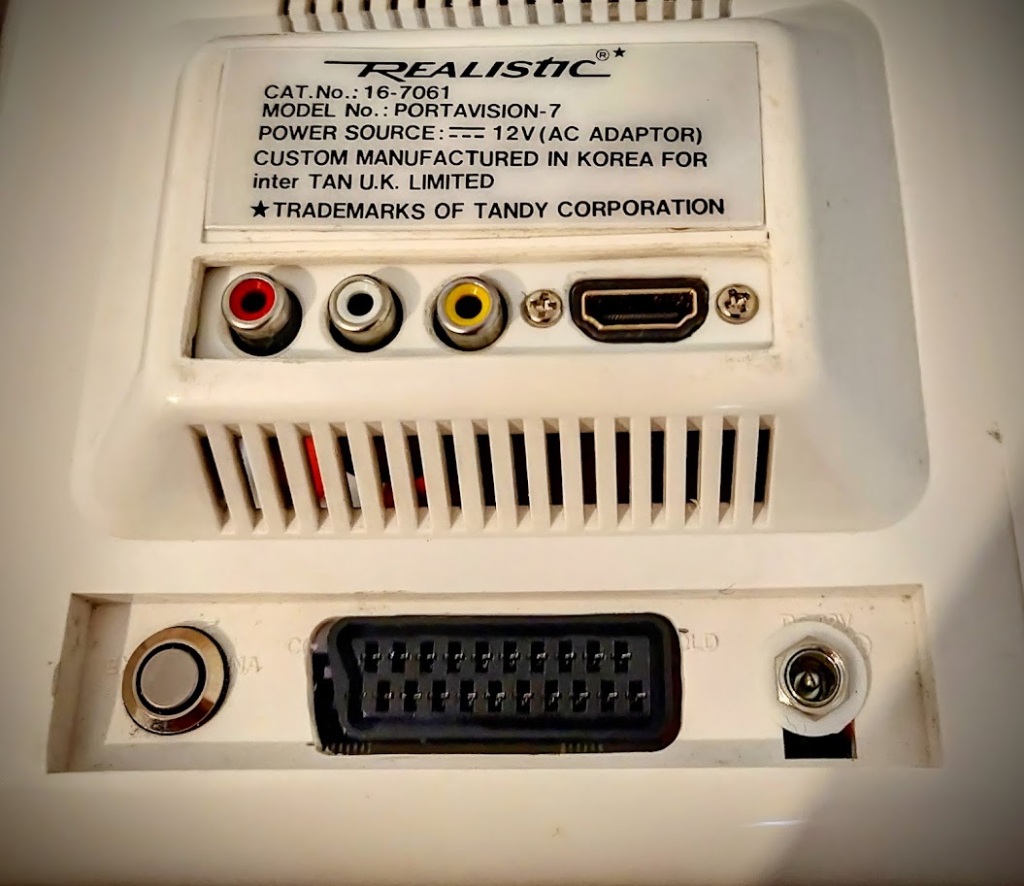
And then I saw it! A Realistic Portavision-7, it had exactly the look I was after, it was a 7 inch and I had an 8″ display but I did some rough mental arithmetic and I should be able to fit it in thanks to the frame.
I still had the other CRT in play on eBay but thought I’d try my hand.
I showed my other half and she agreed it was perfect but in retrospect I should have just placed a bid on it quietly. I always wait until the very last moment on eBay, I don’t want to tip my hand and bump up the price in a bidding war.
With three minutes to go, my partner started getting really tense and kept asking me to bid. To keep her (and me!) calm, I laid out a nice tale.
I said “It’s like those scenes in films where a bunch of archers are defending a castle, the enemy is advancing but you need to wait until the last second as you only have so many arrows.”. She countered with “But if you don’t fire in time you’ll die” – Good point well made! 🙂
Two minutes to go, we’re watching the item like hawks while I say in my best Kingly voice:
“Hold.”
One minute to go:
“Hooold.”
Thirty seconds:
(My partner is curled up like a prawn on the sofa wringing her hands telling me to bid…)
“Hooooooooooold!
Twenty Seconds:
“Ready!!”
7 seconds:
“FIRE!!!!”
Cue a blank screen for about 15 seconds while we looked at each other, then the screen, then each other. I won! Huzzah!
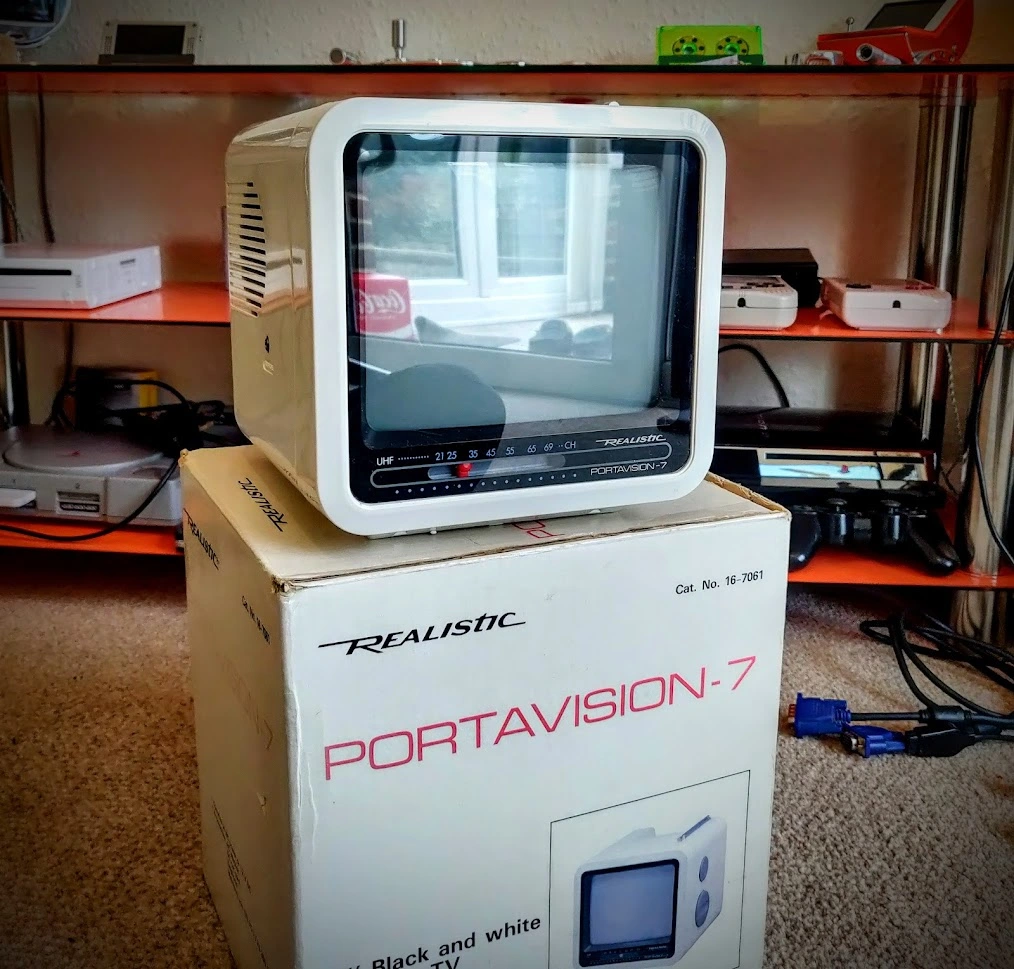
The seller posted really quickly and it arrived in a few days, beautifully packed!
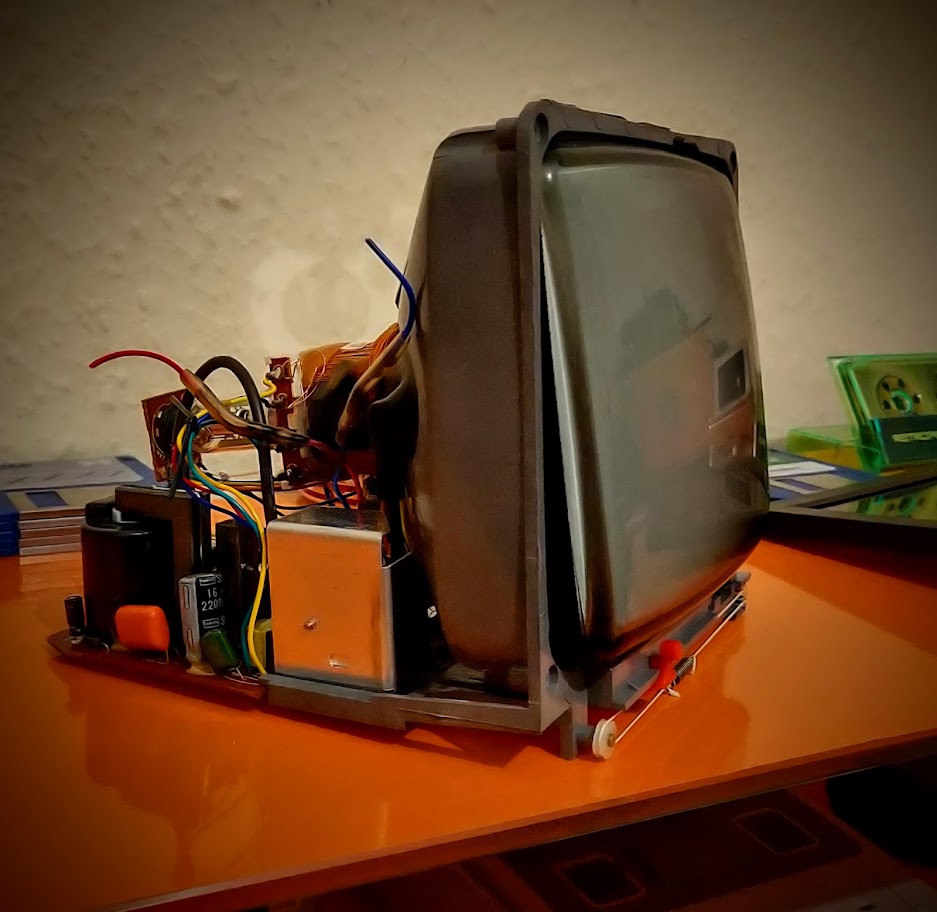
I needed to disassemble it, but CRTs give me the willies. A cut finger I can handle but one mistake with those and you’re dead without even knowing you messed up. *shivers*
I asked Twitter for advice, normally a bad idea in a general sense but the corner of Twitter I inhabit is a lovely little retro echo chamber where everyone is lovely.
(Especially@SmileyBobUK, an all round great guy who always knows the right thing to say when a project is going south. I couldn’t have done the first one without his support and encouragement If you’re reading this Bob, Thank you!)
I got all the right advice, and gauntleted up, using the one hand rule, I extracted the tube and didn’t die – Yay!
I’ve kept this undamaged and it apparently worked fine so I’ve kept it aside in case anyone wants it, waste not, want not.
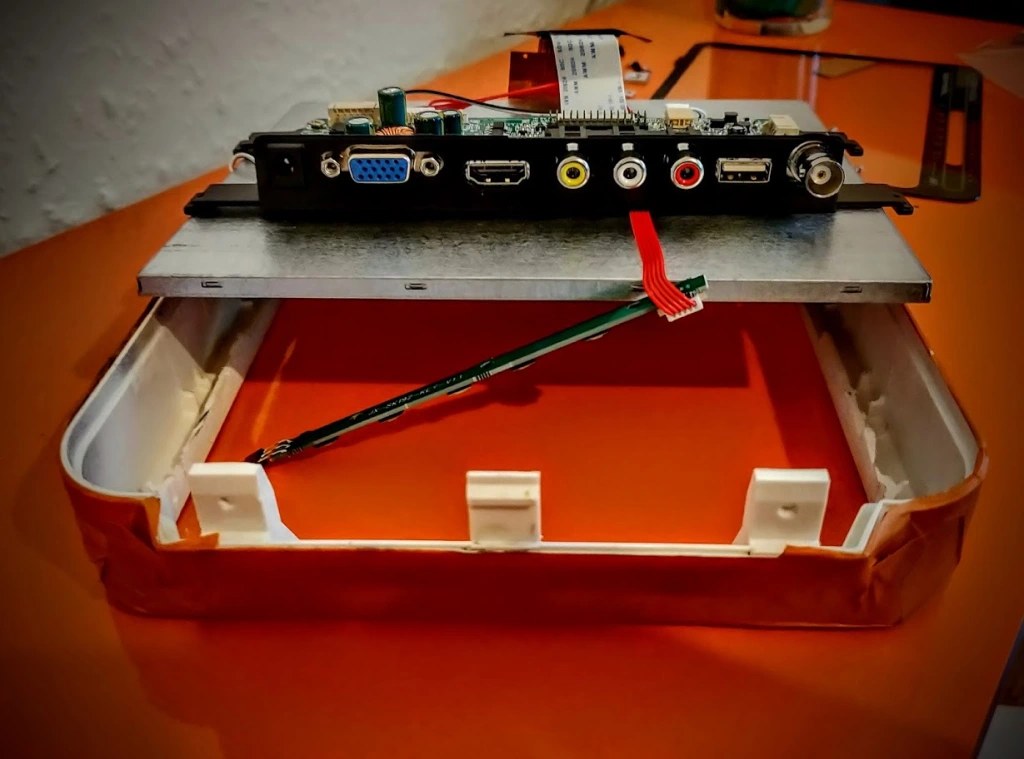
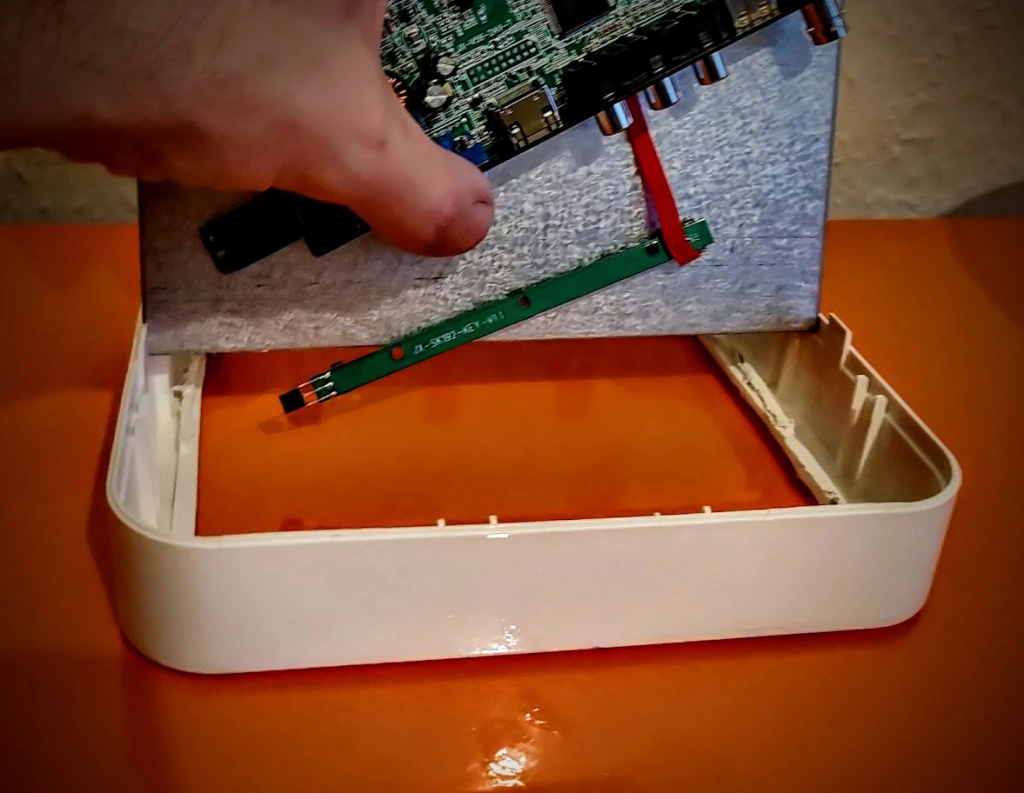
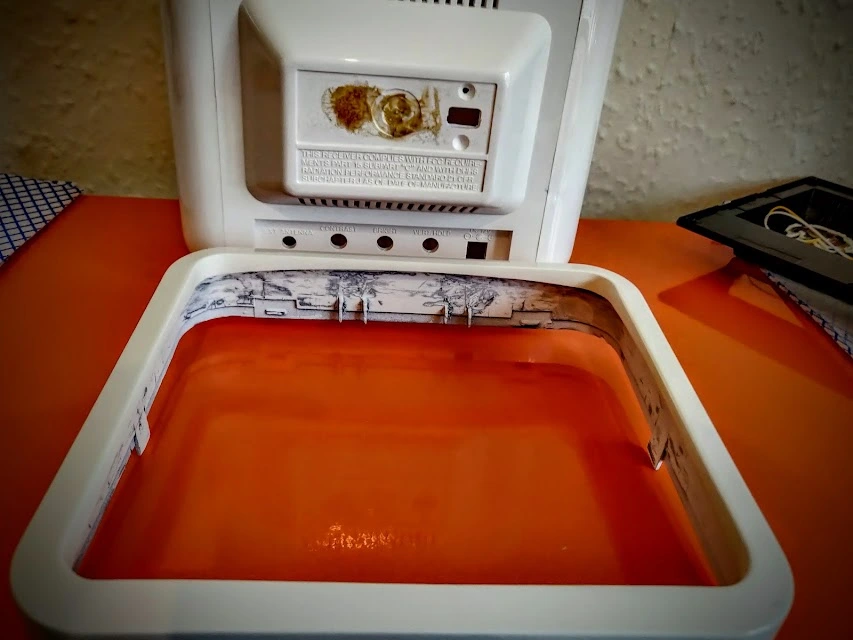
Now to see if the display fits in the shell…
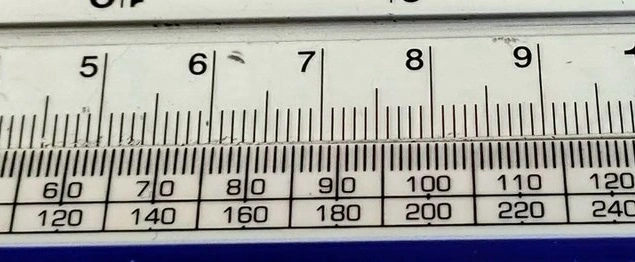
Note even close – WTF! It turns out that I was using a ruler I got for free and it has some sort of weird witchcraft measurement system, just under centimetres, I was sure I had enough wiggle room but apparently not.
I noticed the shell was warped too and it curves in, that definitely won’t help. Luckily, using braces and REALLY hot water, you can straighten plastic out. it took a few treatments but got it much straighter.

I decided to take a leap of faith and press on with the shell mods, thinking that I can strip the display down enough to fit it in as they usually have a border of some kind. There is only 2-3 mm difference so I’ll deal with that later.
I worked on the bezel first, my plan is to match it to the curve of the lens so used some Milliput to fill in the profile. I wrapped the lens in cling film first as I didn’t want to accidentally epoxy it in. 🙂
I used all the sanding and filling skills I learned in the 90s on my rusty A.F. MK2 Escort and got it shaped nicely!
Unfortunately, the shell is an off white and there’s a clear difference in the shell and Milliput colour. I gave it a retrobright to bring it up a shade or two.
It still wasn’t enough so I mixed up a batch of ‘wildly inconvenient beige’ from some Revell enamel paints. I made a decent amount in case I needed some later, not a bad match even if I say so myself! 🙂
With the front done, I needed to get to bonding the screen. LOCA adhesive (or at least the cheap stuff I used) tends to weep and contaminate the backlight assembly. I can get on with the rest of the shell while it’s getting its leak on.
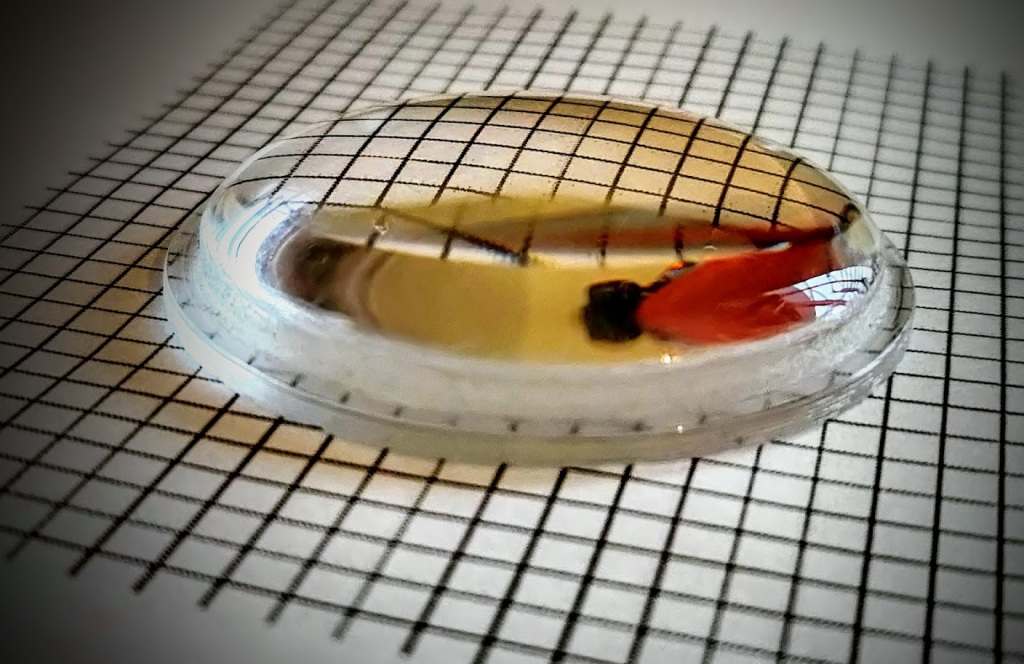
Speaking of FatScreen Technology (Yep, I’m calling it that) I need to explain the reasons for bonding the screen. If you simply plop a fisheye lens on the front of a flat display, you will get exactly that. The light will be scattered between the layers, muting the contrast and the colour.
In the image below, I ‘plopped a fisheye lens on top’ it’s a bit rubbish, no bendy.
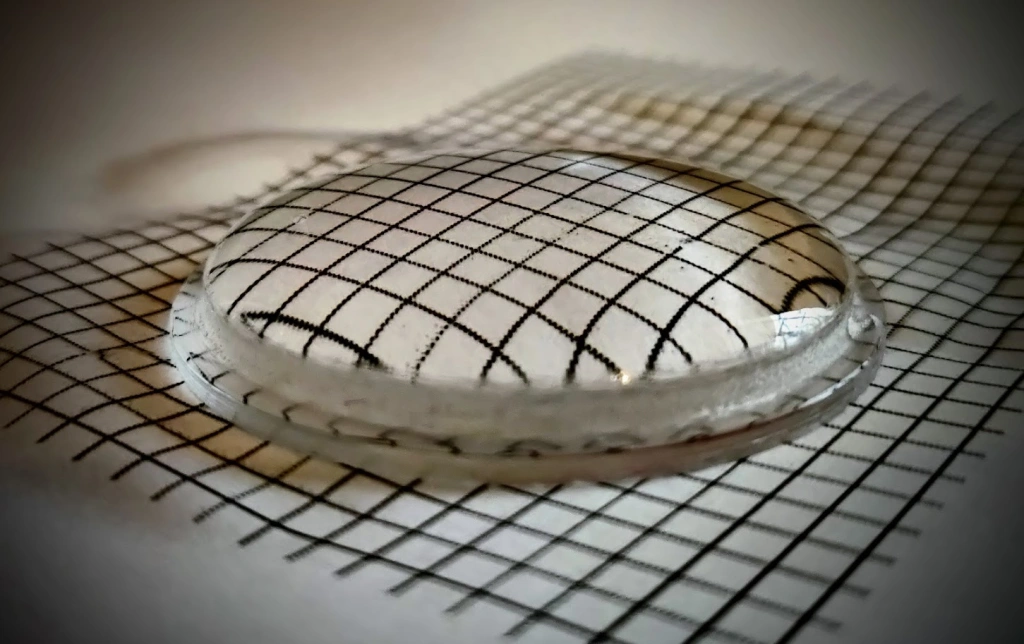
But in this one, I used a layer of water to optically join the two layers, there is a marked difference, plenty bendy! 🙂
Bonding is not without risks, there’s the whole contamination issue, masking the screen, and cracking, bubbles, lint, snapping the ribbon cable and many many more things to go wrong. I’m pretty sure I’ve discovered every possible way to mess it up, the last one I made took 27 attempts to get right.
I’m going to try to do this right the first time but it’s a massively high stakes project on a much larger scale. if I make any mistakes at all, I’ll have to start again. From scratch.
Normally, I’ll go at a project expecting failure, I enjoy the process of actually making a thing and the end result is a sort of afterthought. It’s a nice consequence free approach and there’s no pressure. This is something else entirely.
I procrastinated for the whole of Saturday – I knew what I had to do but couldn’t quite bring myself to start the bonding process. I pottered about the house, pensively frowning and went to bed slightly stressed about the project.
Me and my OH were chatting over a coffee on Sunday morning and she asked how the project was going. I fessed up that I was scared.
She looked genuinely surprised as I usually go at a project like the Kool Aid Man. In fact, she bought me a t-shirt because she thought it summed up my usual method nicely. I put it on for inspiration.

Surprisingly, I actually felt better.
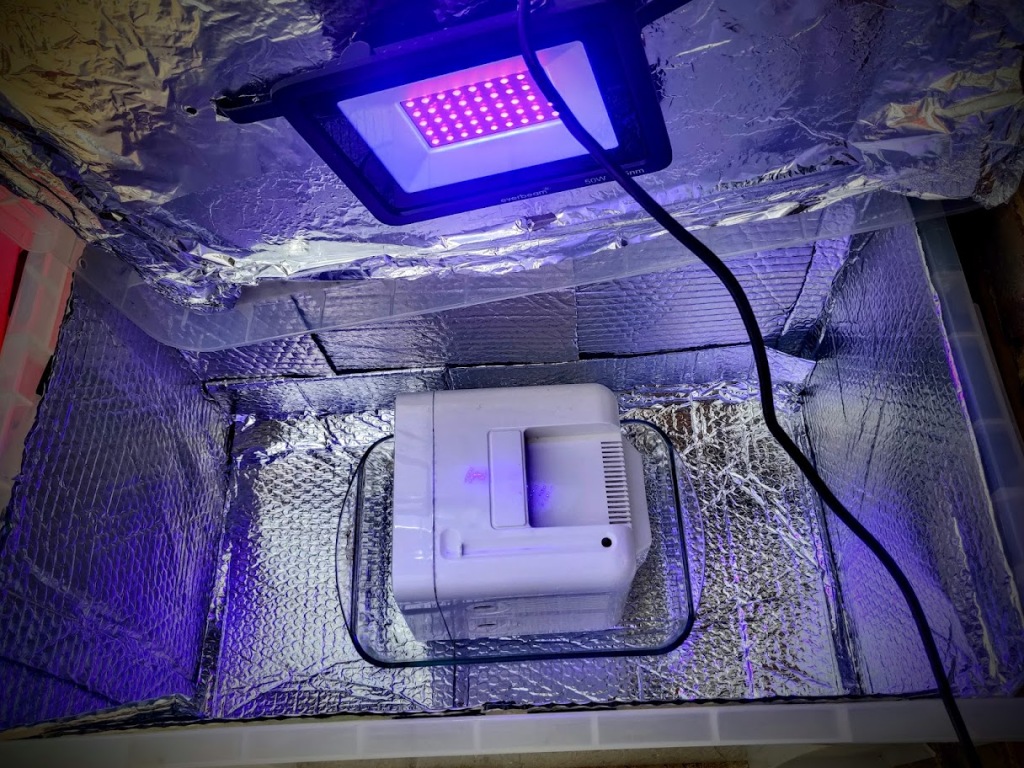
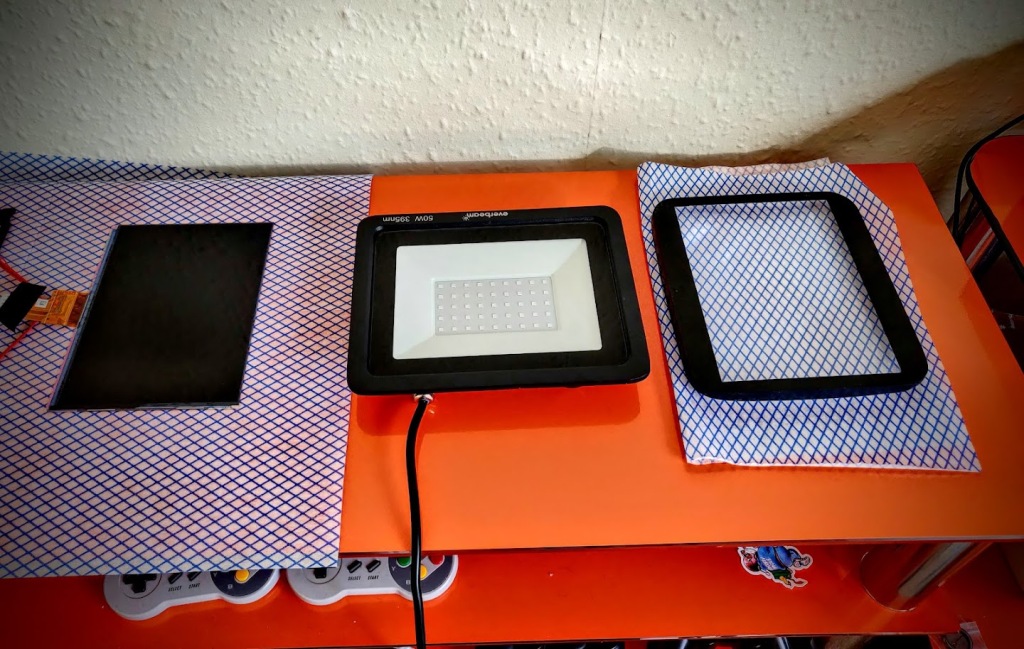
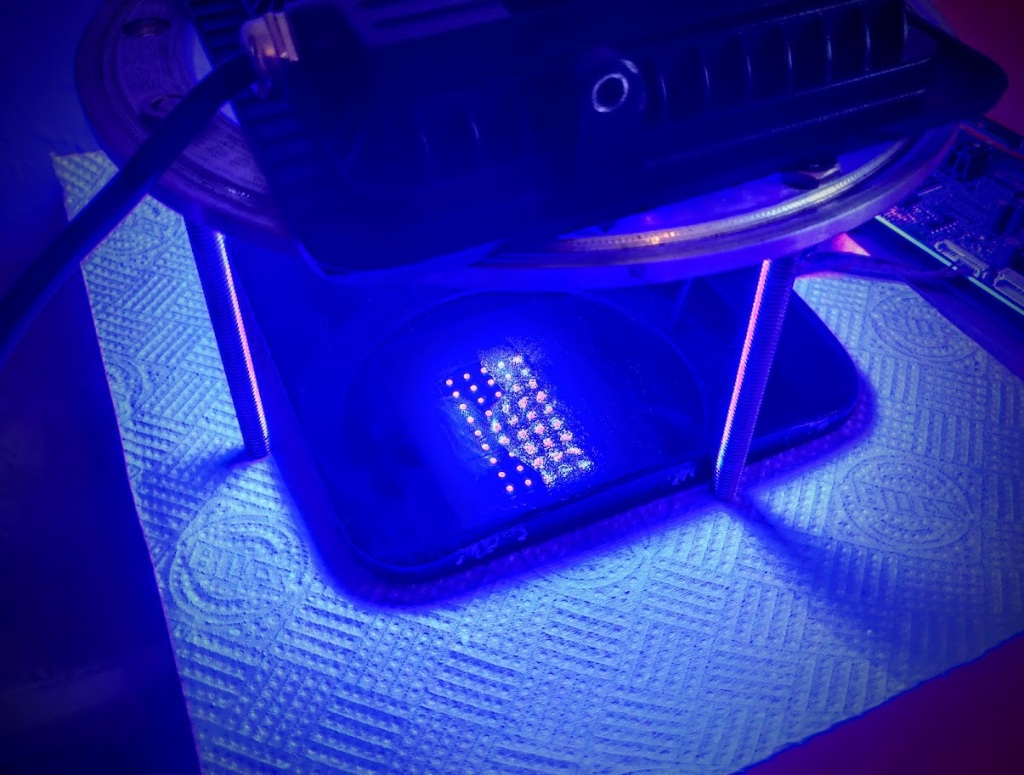
I prepped everything as much as I could, I had reams of lint free paper towels, fine brushes, and even made a frame to put the display in while I nuked it. I was as ready as I was going to be, time to get my Honk on!
I opened the LOCA ready to squirt onto the screen, and then the smell hit me. It has a very distinctive aroma and for me, it’s the stench of failure. Undeterred, I took a deep breath, poured an x pattern on the lens and put the display on top. That’s where things went a bit wobbly.
There were massive bubbles everywhere! The display is really fragile so I couldn’t just push down on it. I rocked it from side to side, and twisted but they wouldn’t move.
Shit.
I eventually managed to gently slide the screen off sideways to reset and start again. This time I used a whole bunch of LOCA right in the middle and gently applied the display. LOCA was everywhere, and I actually started chortling at how badly it was going. I eventually massaged the bubbles out but needed to hold it in place whilst I switched the UV light on. Which, incidentally, was about 4 feet away… Ummm… What now?
I managed to crouch down on my right leg whilst holding the slippery screen in place and stretched out my left leg to the power switch. Imagine the Black Widow crouch pose but being done by a hairy bearded man in pyjamas with a REALLY worried expression.
There are no pictures during this time as I was flying by the seat of my pants teetering on a razors edge between success and failure. Also, nobody needs to see me in my JimJams. 🙂
I managed to turn the UV light on with my toe and hold the display in place long enough for the adhesive to grab! Woo!
I nuked one side for 20 minutes and flipped it over. It would have set in 30 seconds but frankly, I needed a bit of a sit down and a cuppa.
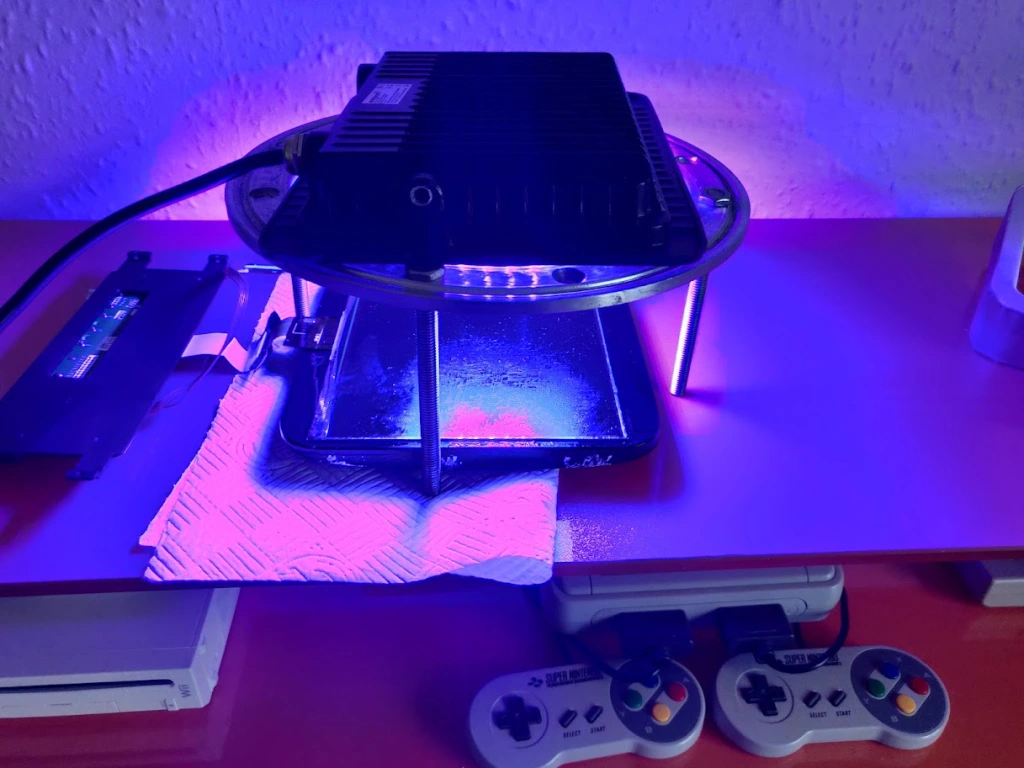
I flipped it and did the other side, I also checked for bubbles and alignment, all good so far. Panic over. I’ll definitely need to do lots of clean-up afterwards:-)
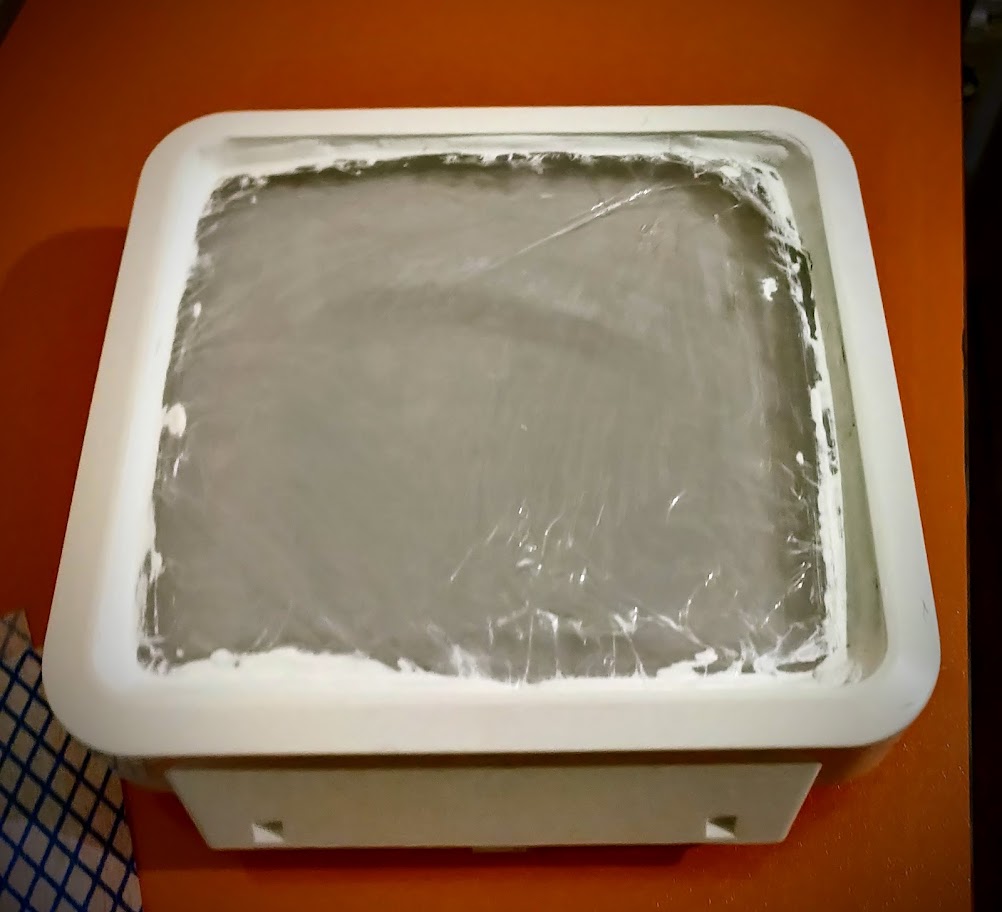
I gave it a basic wipe over, sandwiched it in paper towels and put it aside to have a good weep (The screen, not me!) and got back on with the shell.
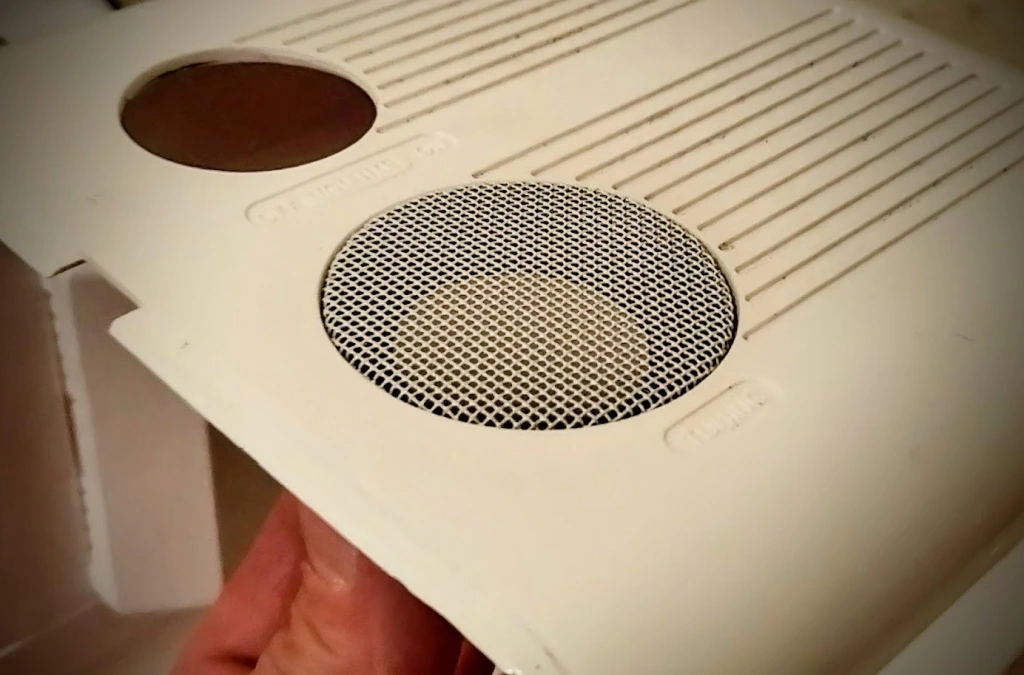
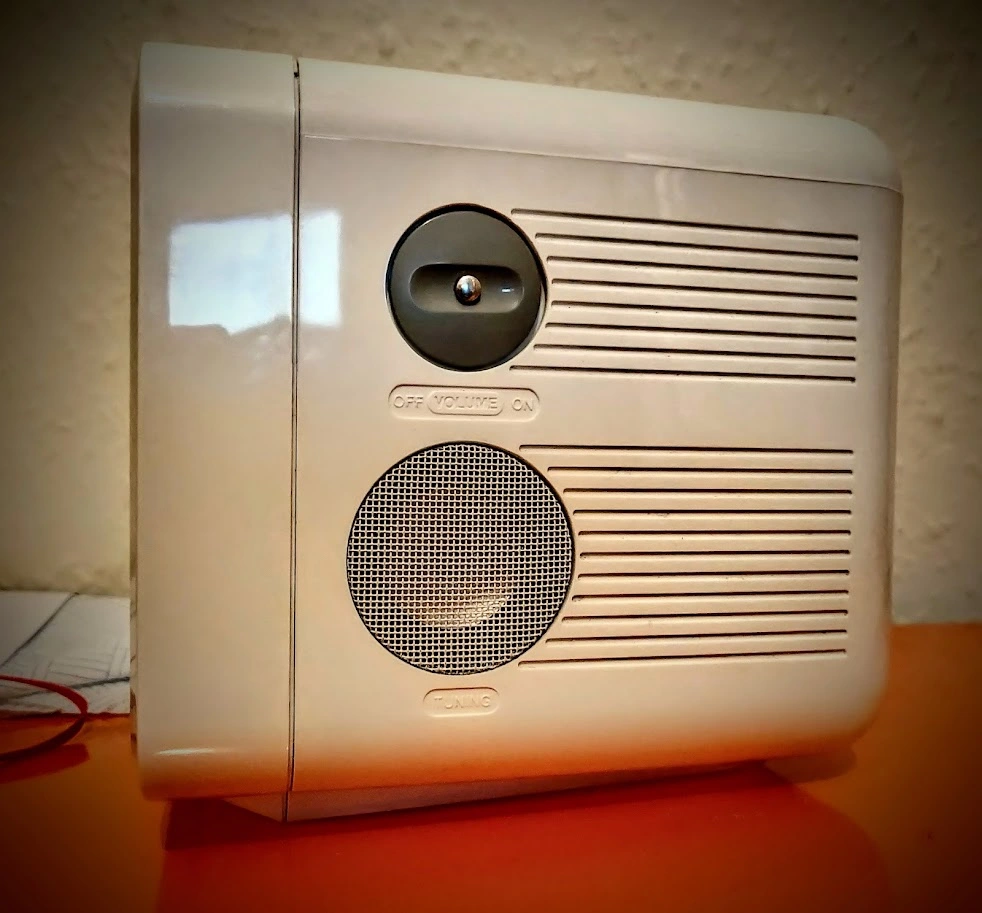
I filed ports out of a white piece of plastic and glued it inside the shell. It’s functional but I know it could look better, that was a problem for another day.
I also cut holes for the speakers either side. It will make for great stereo separation. I also hammered out the speaker grilles with my usual level of finesse. 🙂
They ended up fitting really well but I’d prefer a different mesh, another job for later. 🙂
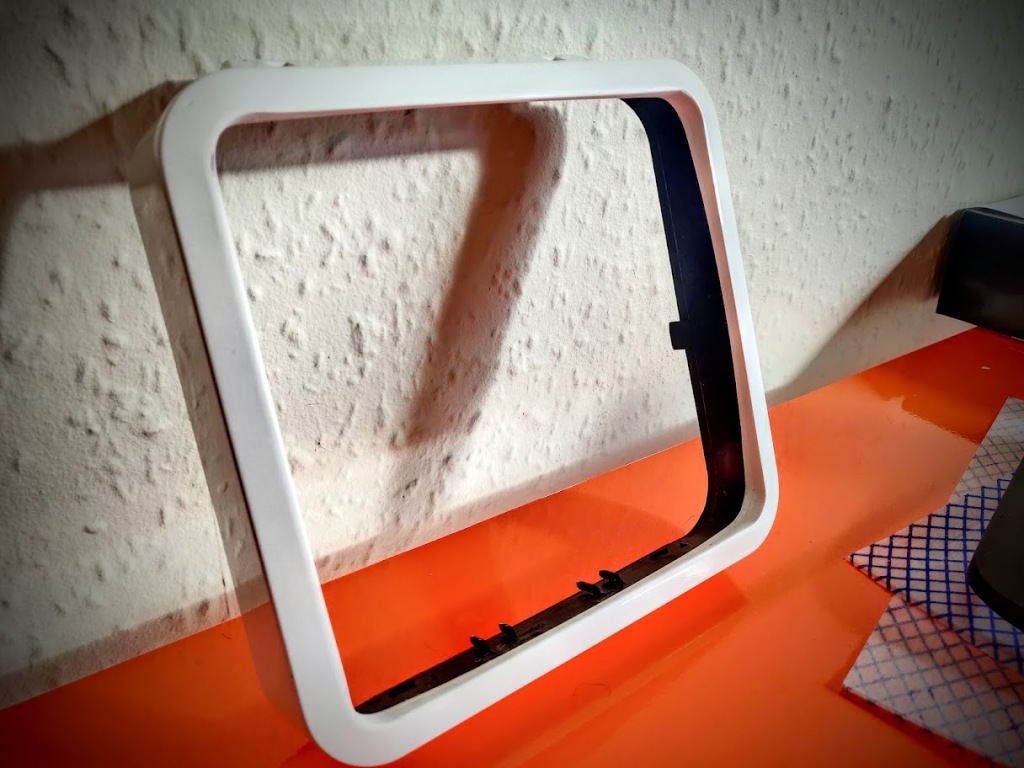
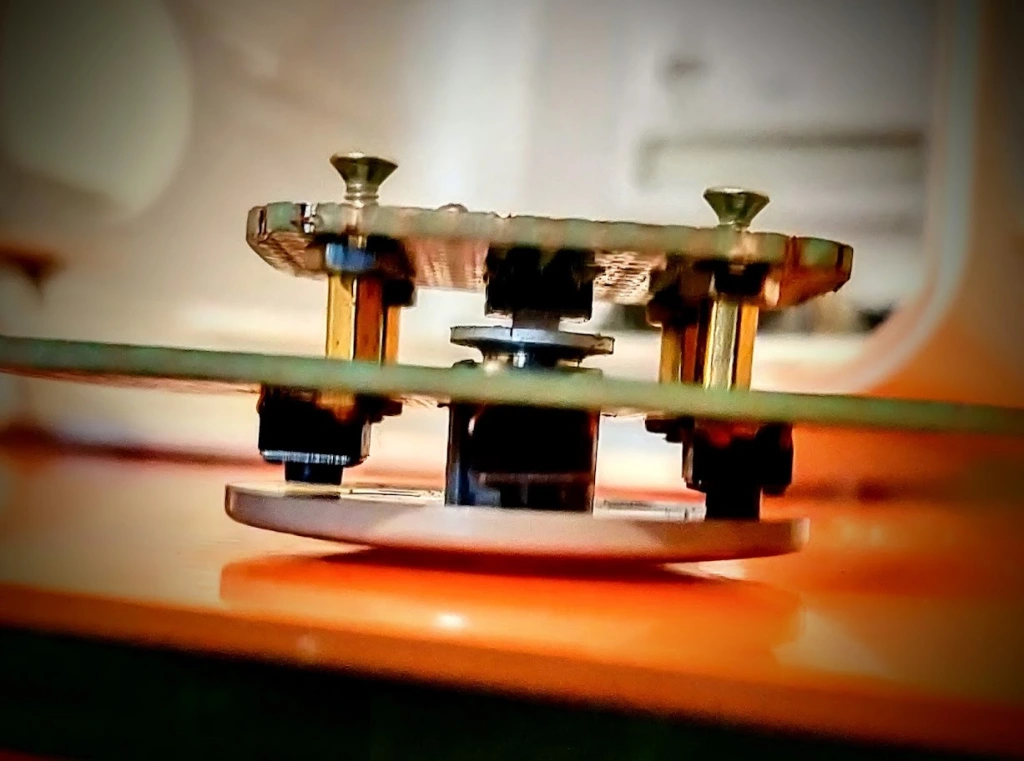
For the controls, I’ll use the existing volume button but as a d-pad and I added a small, aluminium button for the power. It’s the best use of space I can think of and feels quite nice to use.
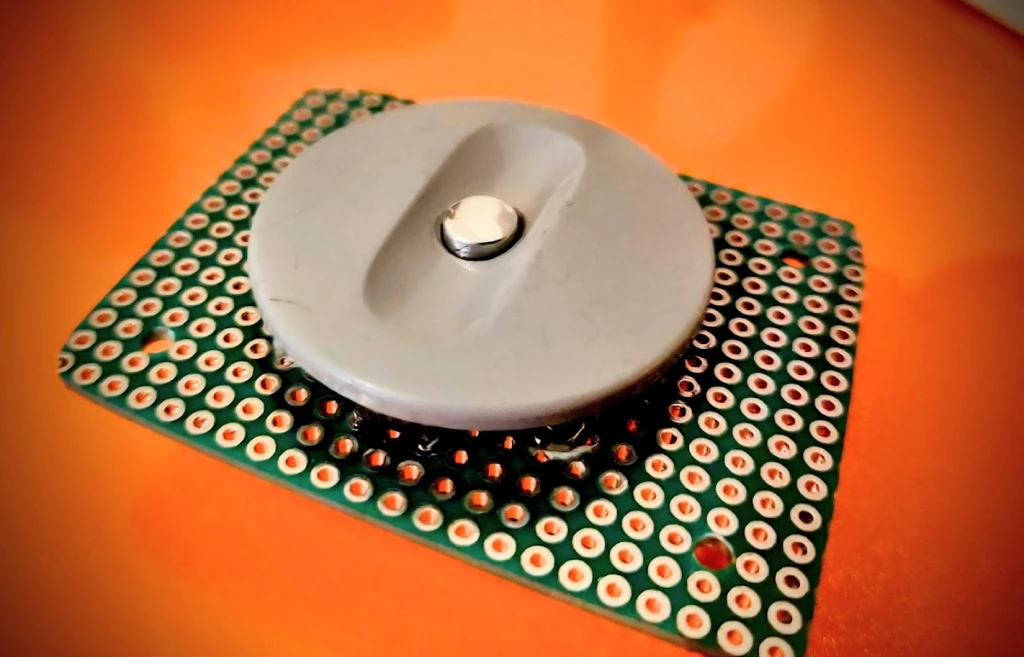
I’ll solder lines from the original button matrix on the display when it’s ready to assemble, it certainly doesn’t look out of place! 🙂
This is it for part 2, I’m really behind on this blog and lots of progress has been made since despite me having the daft idea of changing the spell half way through but that’ll be covered in the next part.
If, for some unfathomable reason, you absolutely can’t wait then I generally post on Twitter as I go through a project. It’s quick and easy and doesn’t break my flow, you can see where I’m at right now here:
