
Hello! I hope you’re well! I’ve recently finished restoring all my retro stuff and I’ve picked up a few tips on the way that could help your kit look extra nice.
Brief preamble. Usually, getting a retro machine comes with decades of dirt, grease, grime and ick. They also smell of ‘other people’s houses’ so the first thing is to disassemble and give it a good clean.
Cleaning, and ‘types’ of dirt:
I have my own philosophy on filth (filthlosophy if you will.) it isn’t backed by any science I’m aware of but it works, and rather well too.
Clean Dirt – Dust, fluff, dry stuff. Anything biologically harmful, if kept dry would have died off long ago.
Best loosened with a 2 inch paint brush and blown off with HPA (High Pressure Air). This also works for morherboards but when doing those, I put some tin foil across the back in case the air and dust colliding builds up static potential. I probably don’t need to but it can’t hurt right?
When doing this, do it outside. No, it won’t launch you straight into sepsis if you breathe any in but it’s still pretty nasty and the local birds can get some vintage nesting material.
If you get hairs stuck in odd places (on the thing you’re cleaning!) fabric softener works and helps to loosen up fibres. Incidentally, it also helps when getting hairs from brushes.
Dirty Dirt – Blood, sweat, gravy, and egg. Anything harmful, mold bacteria etc.
Nuke that stuff from orbit with a big tub of bleach. I’ll make a reasonably strong solution and dunk it in a tub for a good half an hour then I’ll put the gloves on and start scrubbing. I’ll do this to all my kit anyway. I use a soft kitchen scrubbing brush, try to use something stiff enough to do the job but fine enough to get into the nooks and crannies. A 2 inch paint brush with the bristles cut down to about 40 mm is perfect for this too.
**Note – be careful with bleach and IPA on stickers, decals and paints etc, if you’re not sure, use Elbow Grease instead.
Greasy Dirt – Teen Grease, oils, and other oddly waterproof residues.

If a good soaking in water isn’t enough, then a spray down with Elbow Grease and a wipe should cut through most of it, for anything else, IPA and a wipe should help, being mindful of any decals. I’ll go over the shell first with a brush and IPA, then blow anything else off with a compressor.
It will remove all the surface grease, and may remove a depth of colour from the shell and make is appear slightly patchy. Look up Microcrystalline Wax, later on, that stuff is AMAZING!
Sticky, and water soluble dirt – Spilt sugary drinks, smooshed in sweets, general grubbiness, etc.

Soak in warm water for long periods of time, and agitate regularly with a dishcloth, this stuff is easy to deal with. If there are any tricky corners, a cut down paint brush will be your best friend.
I have been known to clean these while showering, it saves water and I use Head and Shoulders so it won’t have dandruff.
Adhesives – Stickers, that Weird Brown Glue stuff, marker pens.


For most stickers, soak in water and washing up liquid for half an hour, and occasionally rub at it until the paper layer comes off. After that, WD-40 should get the sticky off and a quick wipe with IPA will finish it off.
For marker pens and Weird Brown Glue, IPA will work. Sometimes, for stubborn pen marks, you can use bleach to kill off the pigment. For Weird Brown Glue – This takes time. Soak in IPA, wipe off the top layer, then keep going until you hit plastic. Keep using fresh disposable cloths or it’ll just stick back on again.
For security marker and/or stubborn pen marks,soak a paper towel in IPA and leave it on top of the marks, then swab, and replace the towel as needed until it goes, a little agitation with a cut down paint brush helps too. You’ll see if it is still working as you’ll have a residue on the tissue.
Improving the finish.
Once your machine is clean, you can start working on the finish. I’ll try and group them into types:
Piano Black/perspex lenses.

Yep, that’s a gouge!
Shiny surfaces pick up scratches over time, given enough time, it can end up looking like the front window of a long abandoned starfreighter.
**Another note, be careful with abrasives, they’ll take any decals or logos straight off. If you absolutely must use them, use them sparingly and only when you have to.
First sweep – Make sure the surface is clean and dry, and then go over it with Plastic polish using gentle but lots of sweeps. I use either Regina Blitz, or cheap tissues, some cloths and kitchen roles are slightly abrasive and you may end up putting more scratches in than you take off.
Second Sweep – Inspect the surface for deeper scratches/gouges. You can get some success by resurfacing with 1000 grit wet and dry sandpaper, be mindful of how much material you’re taking off.

Try to sand a large area around the scratch, if you concentrate on a small area you could create a divot that’ll look weird. Try to bring the surface down to the bottom level of the scratch. If you’re super fussy you can use 3000 grit to finish, it’ll save on hand polishing later on.
Final Pass – Using tissues (Or Regina Blitz) polish up, and down, and then left to right making sure you use lots of light passes. it helps to keep the item flat on a desk.


Matt/Textured Shells (or, the first rule of Microcrystalline Wax Club is to tell EVERYONE about Microcrystalline Wax Club)
I used what I call ‘Miracle wipes’ and they really help get a lovely even finish and deepen the shade of the shell. Get a small cloth, and add a gob of Renaissance wax, then spray some WD-40 on it. go over the shell in small circular motions. leave about half an hour for it to dry then buff gently with a soft cloth.
My thinking is that WD-40 thins down the wax, and allows it to seep into the microfissures of the plastic. It also seems to cover some of the damage done by RetroBrighting, here’s a grey +2 shell with mottling:

After a go over with Miracle wipes and a buffing, it has a nice, even sheen, isn’t slippery like silicone products and it also smells great!

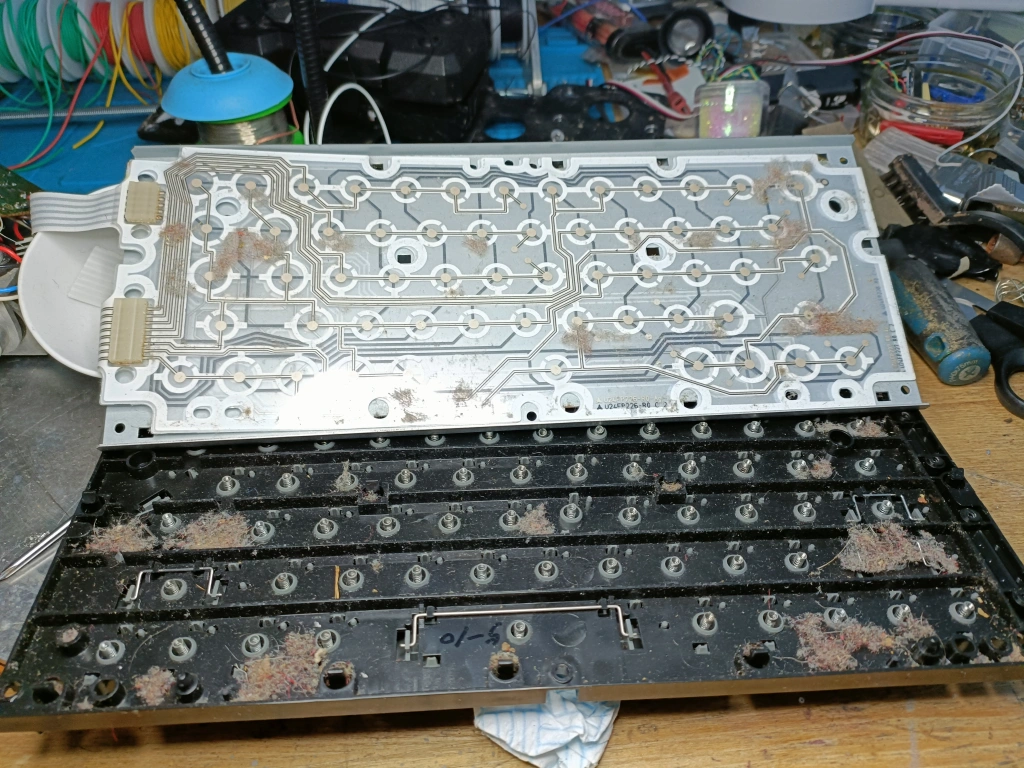
PCB Cleaning
Not too tough, I’ll douse the whole board in Isopropyl Alcohol, and give it time to soak in. I’ll rest the PCB on some tin foil in case of static.

Agitate with a cut down paint brush – The bristles are granular enough to get into the tiny areas and do a good job without being so stiff it bends the components. After that, give it a few good blasts with high pressure air. Again, do this outside, unless you like feeling dizzy and sick and thrive in a potentially explosive atmosphere. Once done, you’ll have lovely, flux and generally ick free board!

Weapons of War!
These are my go to tools and products, I’ll list out their best usages below.

Renaissance Wax:
This is a microcrystalline wax that’s a game changer. It is used for antique restoration asnd museum preservation. It protects from fingermarks, restores and deepens the finish, it leaves a sheen rather than a shine on textured shells. You can apply it with a cut down paint brush to work it into textured areas.
It can even reduce the scorching done by poor retrobrighting. It can be used on plastic and metal, wonderful stuff.
Mother’s Mag & Aluminium polish:
If you want something to be shiny, this is the stuff for you. It starts with microgranules that get smaller as the paste is worked in this means that the ‘grit’ gets smaller and smaller as you use it.
On Aluminium and plastic, I can go from a sturdy 1000 grit straight to this stuff and it takes it the rest of the way. I’ve stopped using plastic polish on Perspex as this stuff is way better. It also leaves a preservative wax coating behind.
This is best used in the end stages of the polish with fine tissue paper , as mentioned before some cheaper kitchen towels are quite abrasive.

Cut down Paint brush
Great for getting into stubborn areas, you can get a set and vary the length (aka cut with scissors) to get the right level of stiffness. About an inch and a half is perfect for PCBs, half an inch for scrubbing textured cases.

Isopropyl Alcohol (IPA)
My go to cleaner for everything, bathrooms, glasses, and PCBs, great for getting labels off and preparing surfaces for any kind of adhesion (Quick tip, when adhesive manufacturers say keep the area clean, and grease free, they’re not kidding!) .
Elbow Grease:
A great general degreaser and cleaner. Use this as a second sweep after bleaching. As a bonus, the spray tops screw straight onto a bottle of Isopropyl Alcohol for bulk sprayying action.
Magic sponge
Good for matte cases, and for removing really stubborn marks, it is abrasive so use sparingly.
The Pink Stuff
The nuclear option, only use for spot cleaning. It is really coarse and best worked in with a paint brush cut to about half an inch. Work it into textured shells with small circular motions. ONLY FOR EMERGENCIES!
Regina Blitz Kitchen Towel.
Tough enough to get most jobs done but also doesn’t abrade the surface likel other towels can.
Bleach
It’s bleach, you know bleach yeah? 🙂
Cleaning checklist:
Disassemble
Soak shell and any other parts in warm bleach solution for about an hour.
Scrub.
Apply Elbow Grease.
Scrub.
Remove any final marks.
Rinse and leave to dry.
PCB
Place on tin foil, and spray with IPA.
Agitate with cut down paint brush.
Blast it clean with high pressure air.
Repeat until spotless.
Polish any lenses or glossy plastic with Plastic Polish and or Mother’s Mag.
Inspect for deep scratches. Sand area down with 1000 grit wet and dry.
Polish again.
Repeat until done.
Shell restoration.
Put some microcrystalline wax on a small cloth, spray with WD-40 and mix it together.
Apply to the shell in small circular motions, work into deep textured plastic with a cut down brush.
Wait half an hour for it to dry.
Buff off with a soft cloth.
Repeat if required.
After this, you should be ready to assemble your shiny new retro device – It’ll look nice and not smell of other people’s houses!
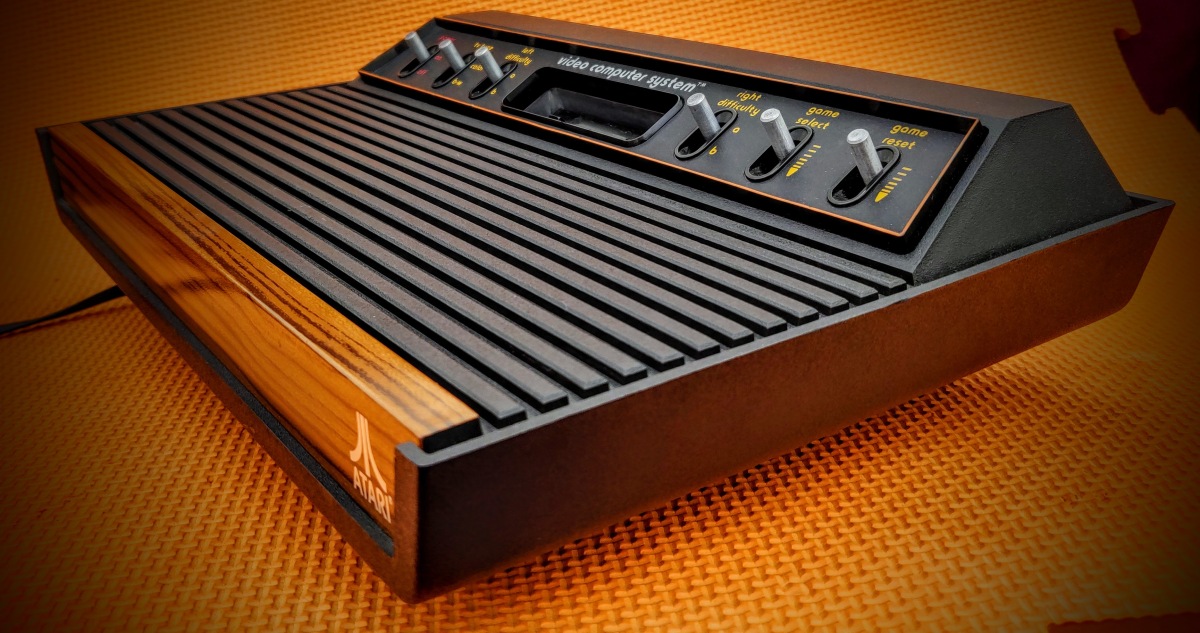
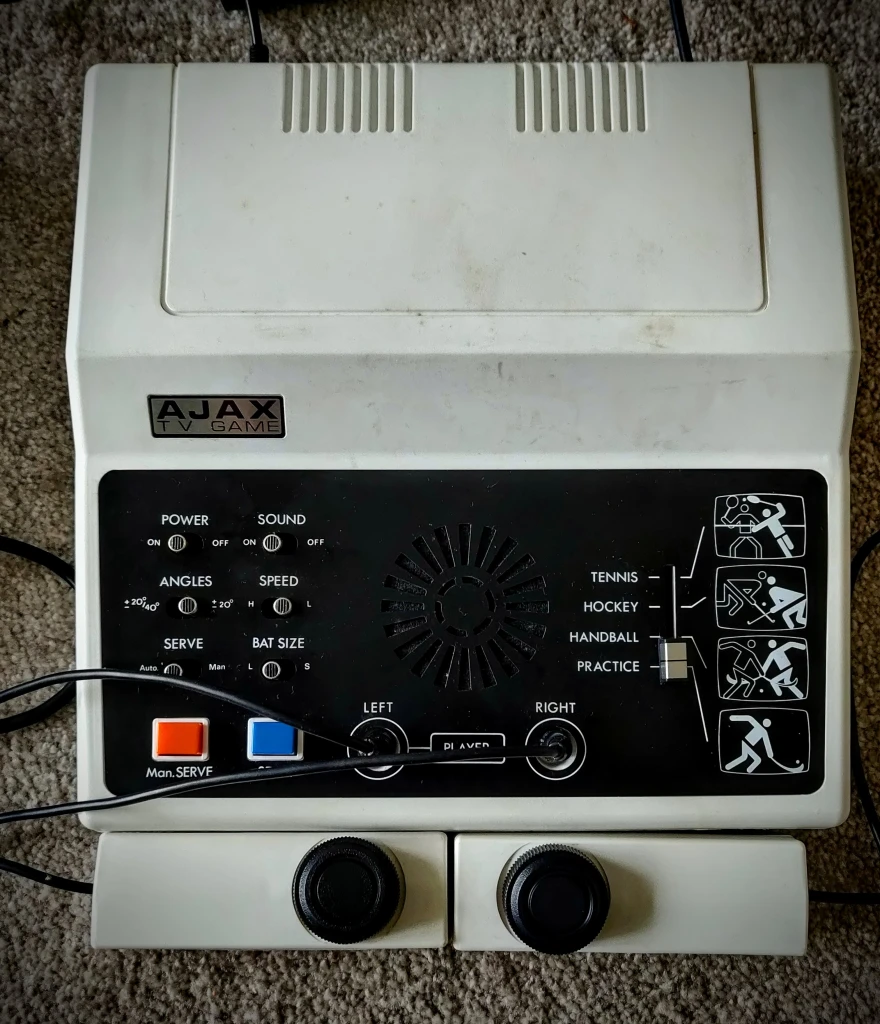
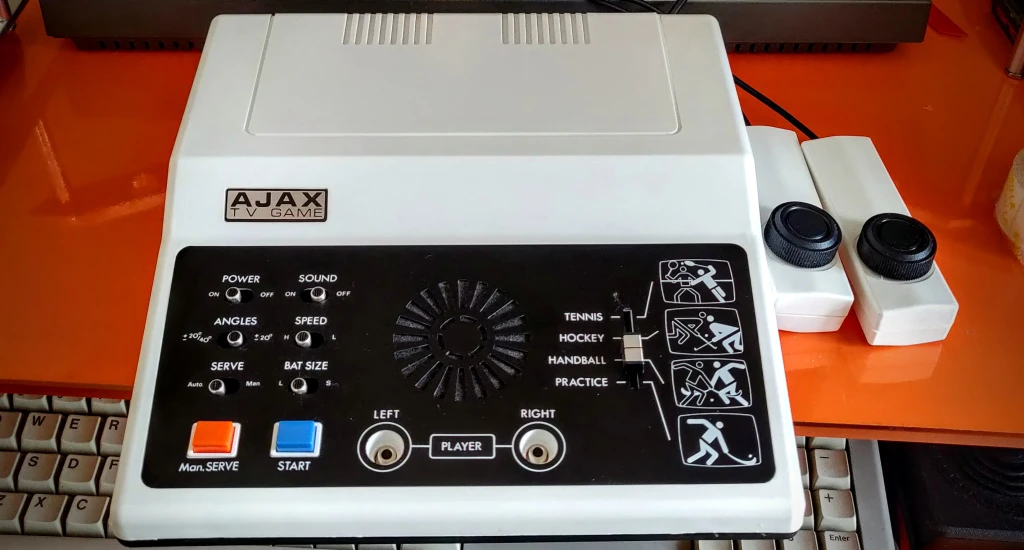
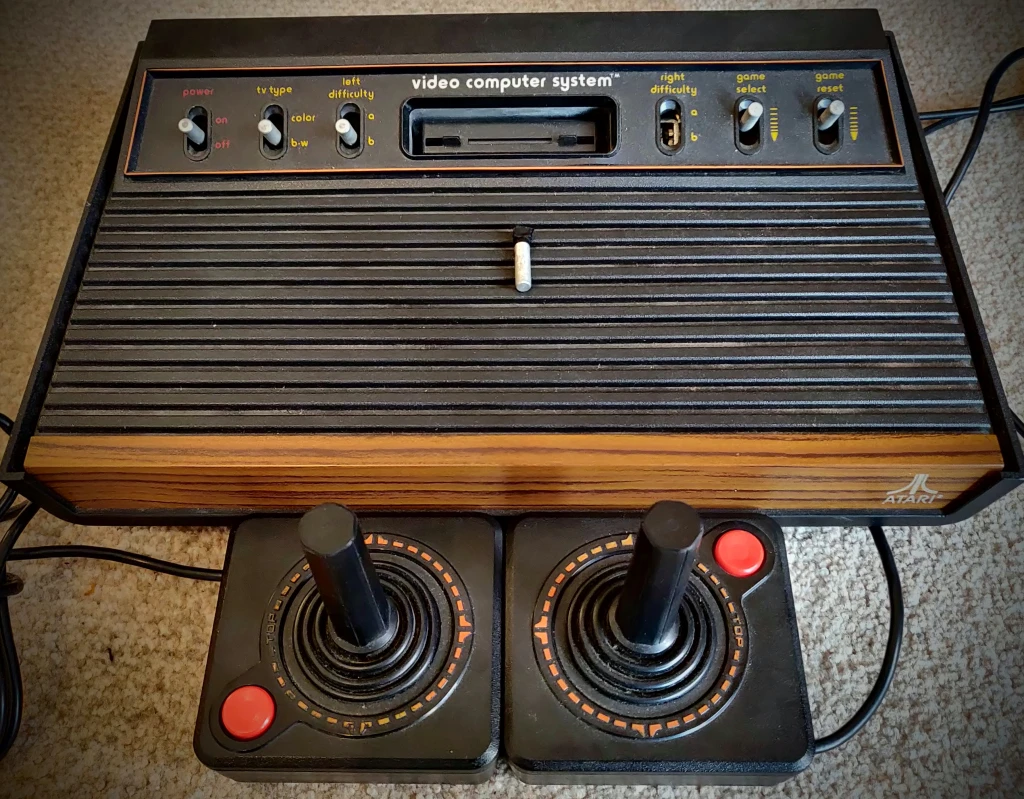
Before and after pics:
I’ve used this method many times, here are some before and after pics:


And finally, my latest one – A grubby ZX Spectrum 128k +2 (Issue 3) Went from this:


To this:


